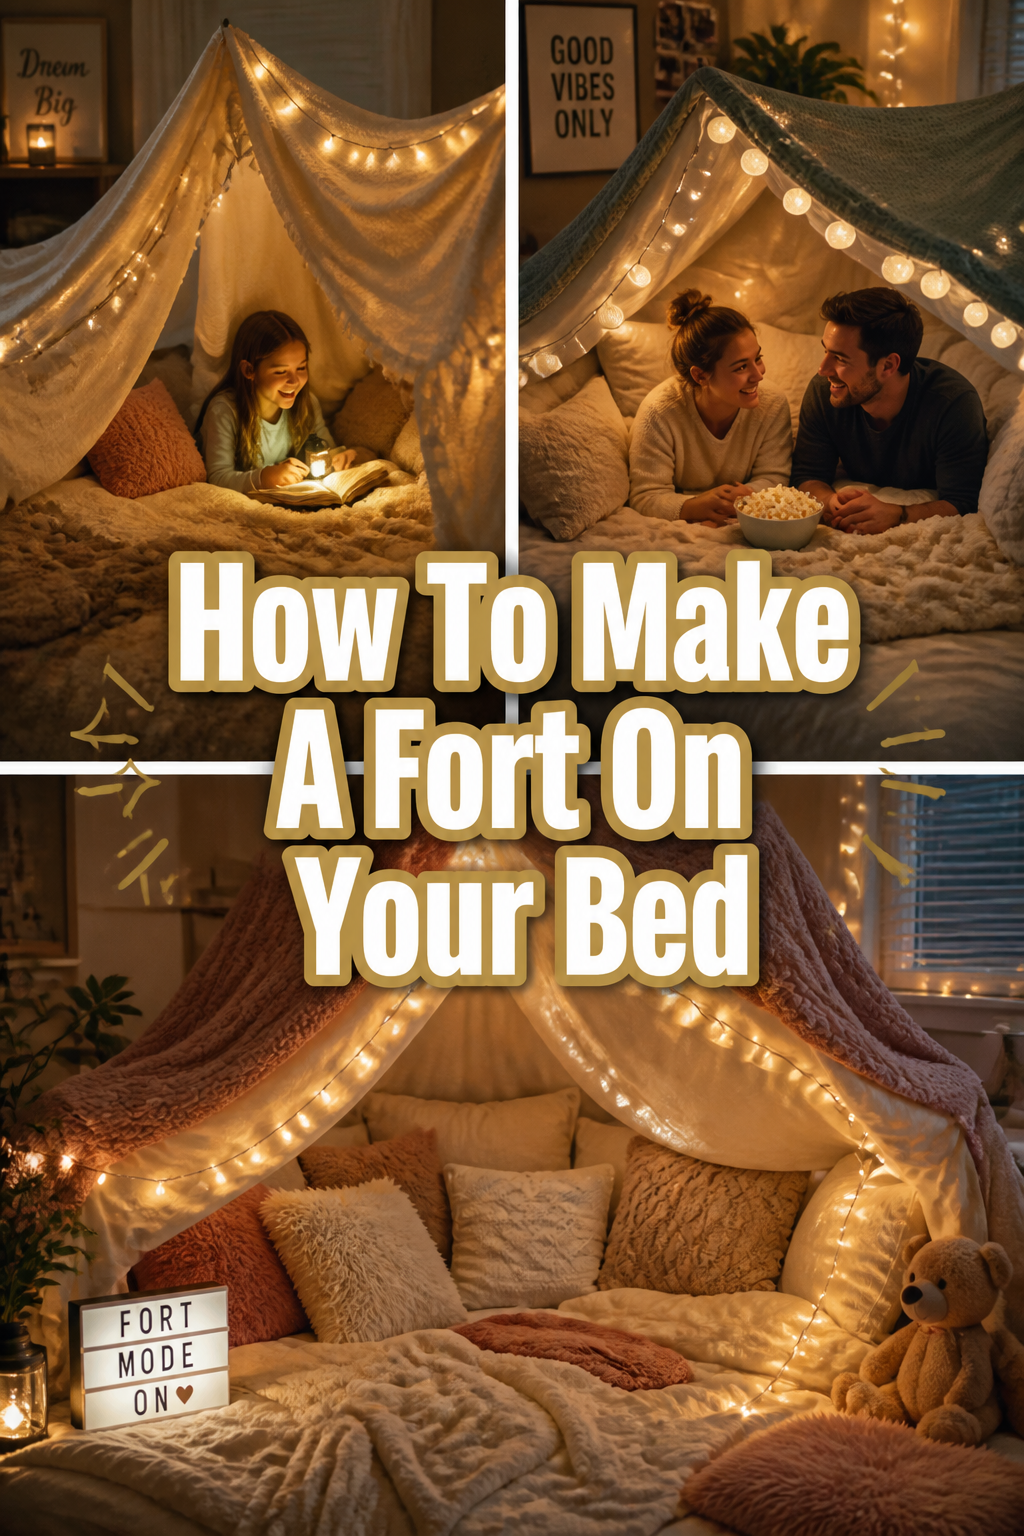
🏕️ How To Make A Fort On Your Bed
🍼 The Newborn Survival Kit
The first six months of parenthood are a blur of exhaustion. Stop trying to tough it out—these are the 5 absolute life-saving baby essentials that experienced moms literally refuse to live without. They will instantly solve your biggest sleeping, feeding, and soothing struggles.
🌙 Hatch Rest Baby Sound Machine
The ultimate sleep hack. You can entirely control this white noise machine and dimmable nightlight from your smartphone, meaning you never have to accidentally wake the baby while sneaking back out of the nursery after a 3 AM feeding.
🤧 FridaBaby NoseFrida Snotsucker
It sounds incredibly gross until your baby has their first cold and literally cannot breathe to sleep. Throw away those useless hospital bulb syringes—this doctor-invented tool safely clears congestion in seconds, and yes, the filter absolutely prevents any germs from reaching you.
💧 Haakaa Silicone Manual Breast Pump
Every breastfeeding mom's best kept secret. Simply suction this cheap, cord-free silicone cup to the opposite breast while you nurse to effortlessly catch every drop of liquid gold letdown that would otherwise leak onto your shirt and be totally wasted.
🧴 Aquaphor Baby Healing Ointment
Forget buying ten different expensive, highly-fragranced creams. This is the only ointment you need. It miraculously cures severe diaper rash overnight, heals cracked nursing nipples, soothes baby eczema, and aggressively protects delicate skin from harsh winter wind.
☁️ Burt's Bees 100% Organic Burp Cloths
You will go through dozens of these a day, so do not cheap out on thin fabric. These thick, ultra-absorbent organic cotton cloths actually catch massive spit-ups before they ruin your only clean outfit, while remaining incredibly soft against your newborn's face.
There’s a special magic in building a fort, isn’t there?
I remember endless afternoons spent transforming my childhood bedroom into a secret hideaway, and now, seeing my own kids’ eyes light up with the same joy is truly priceless.
This guide shares all my tried-and-true tips for building the coziest, most epic bed fort, making sure it’s fun for everyone and actually stays up!
Quick Overview
Get ready to transform your child’s bed into a magical haven. This project is all about creativity, comfort, and creating lasting family memories.
- Time needed: 30-60 minutes (depending on how elaborate you get!)
- Difficulty: Beginner
- What you’ll need: Sheets, blankets, pillows, clips, chairs, and a sprinkle of imagination.
Step-by-Step Instructions
Step 1: Gather Your Supplies
Before you begin, a little preparation goes a long way. Think about what you already have around the house that can contribute to your fort masterpiece.
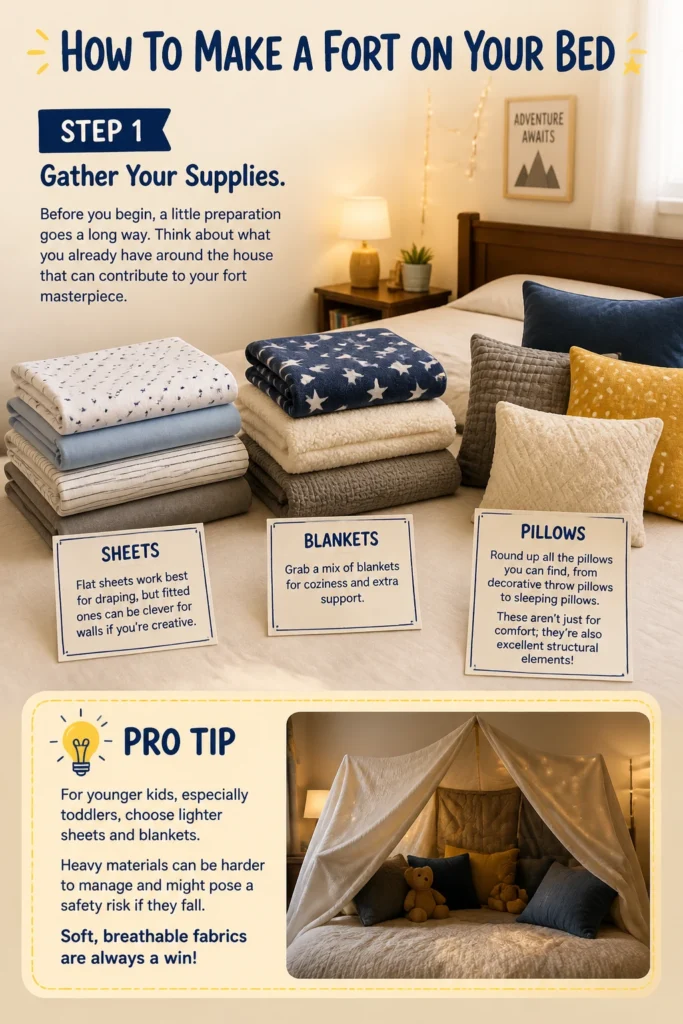
Collect a variety of sheets – flat sheets work best for draping, but fitted ones can be clever for walls if you’re creative. Grab a mix of blankets for coziness and extra support.
Round up all the pillows you can find, from decorative throw pillows to sleeping pillows. These aren’t just for comfort; they’re also excellent structural elements!
Pro Tip: For younger kids, especially toddlers, choose lighter sheets and blankets. Heavy materials can be harder to manage and might pose a safety risk if they fall. Soft, breathable fabrics are always a win!
Step 2: Clear the Deck (or Bed!)
A clean slate makes for a sturdy foundation. Remove any unnecessary items from the bed itself, like toys or books that aren’t fort-related.
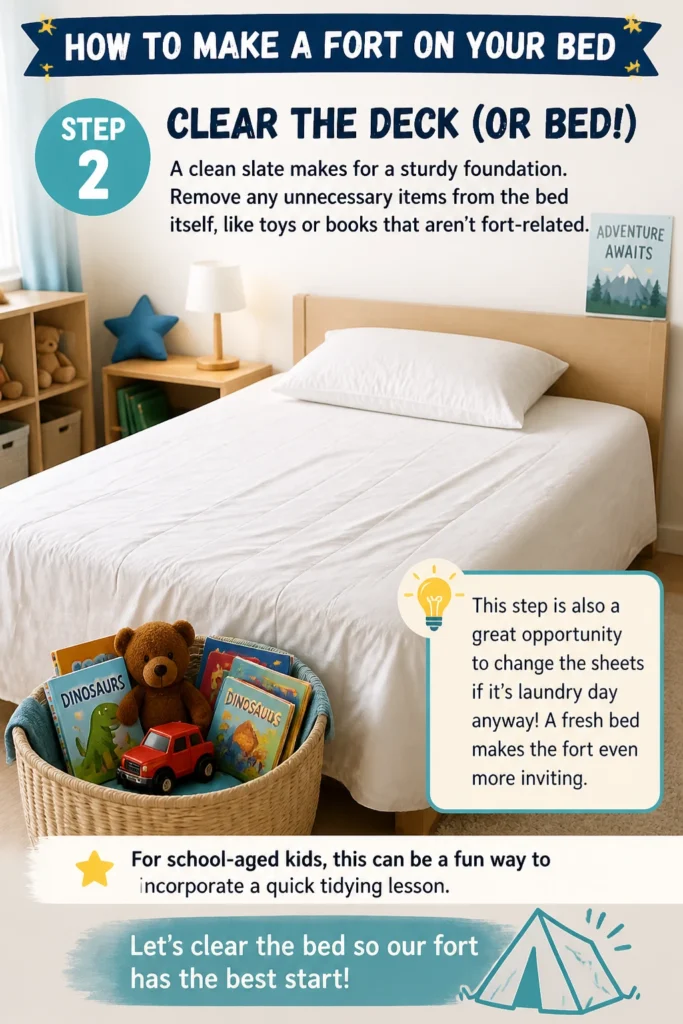
This step is also a great opportunity to change the sheets if it’s laundry day anyway! A fresh bed makes the fort even more inviting.
For school-aged kids, this can be a fun way to incorporate a quick tidying lesson. “Let’s clear the bed so our fort has the best start!”
Step 3: Build Your Fort’s Frame
This is where the structure comes to life. You’ll need some external support to create height and space inside your fort.
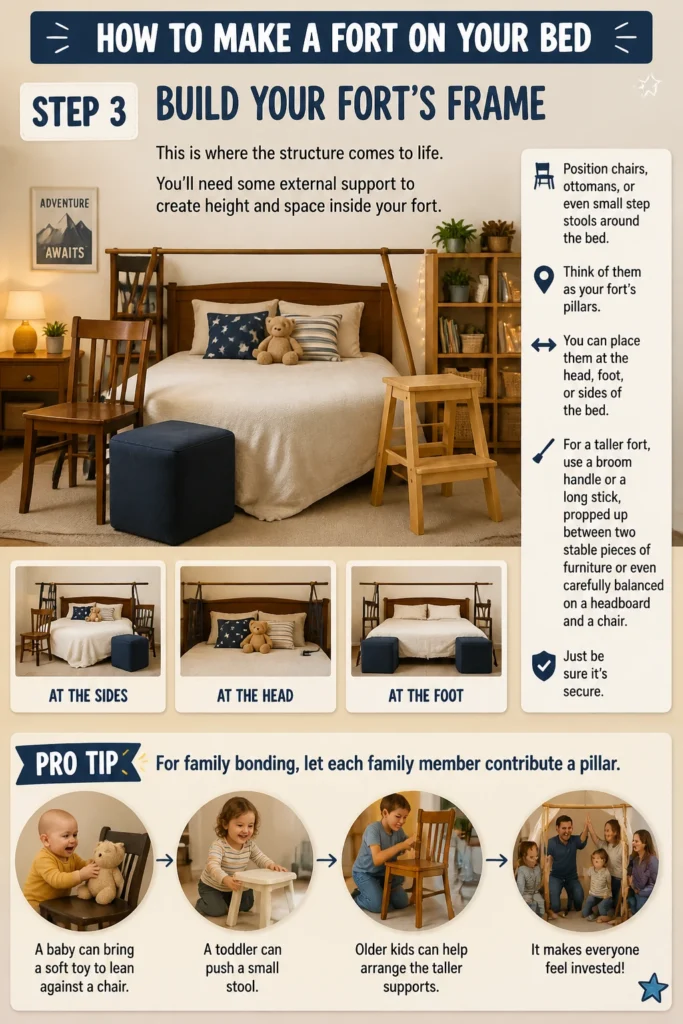
Position chairs, ottomans, or even small step stools around the bed. Think of them as your fort’s pillars. You can place them at the head, foot, or sides of the bed.
For a taller fort, use a broom handle or a long stick, propped up between two stable pieces of furniture or even carefully balanced on a headboard and a chair. Just be sure it’s secure.
Pro Tip: For family bonding, let each family member contribute a “pillar.” A baby can bring a soft toy to lean against a chair, a toddler can push a small stool, and older kids can help arrange the taller supports. It makes everyone feel invested!
Step 4: Drape Your Sheets and Blankets
Now for the magical transformation! This is where your fort starts to take shape.
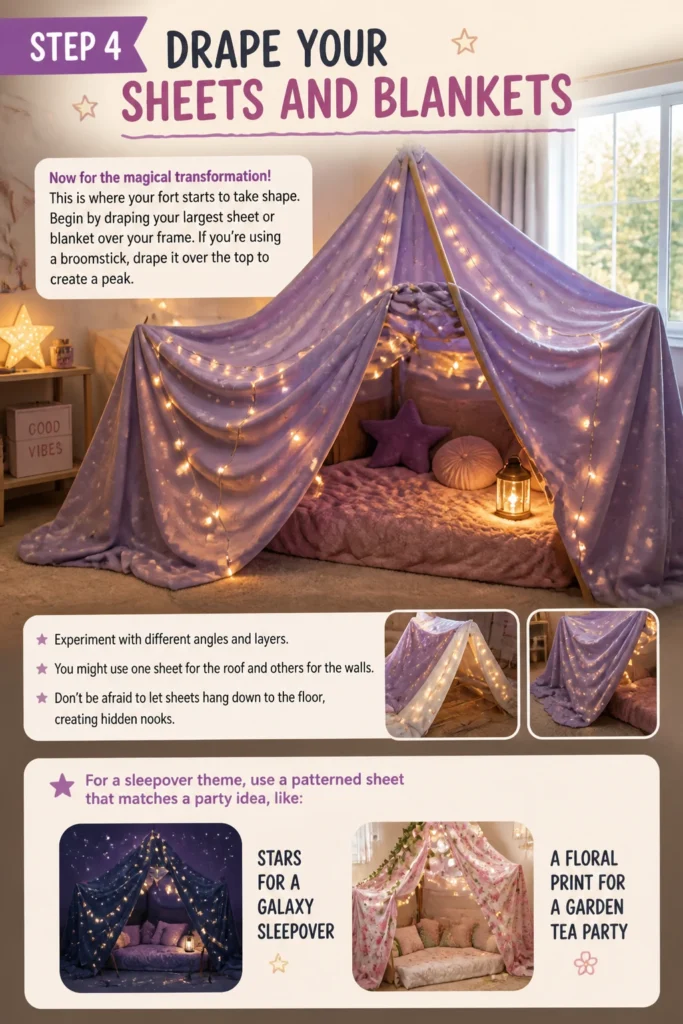
Begin by draping your largest sheet or blanket over your frame. If you’re using a broomstick, drape it over the top to create a peak.
Experiment with different angles and layers. You might use one sheet for the roof and others for the walls. Don’t be afraid to let sheets hang down to the floor, creating hidden nooks.
For a sleepover theme, use a patterned sheet that matches a party idea, like stars for a “galaxy sleepover” or a floral print for a “garden tea party.”
Step 5: Secure Everything in Place
A fort that collapses is no fun! This step is crucial for stability and safety.
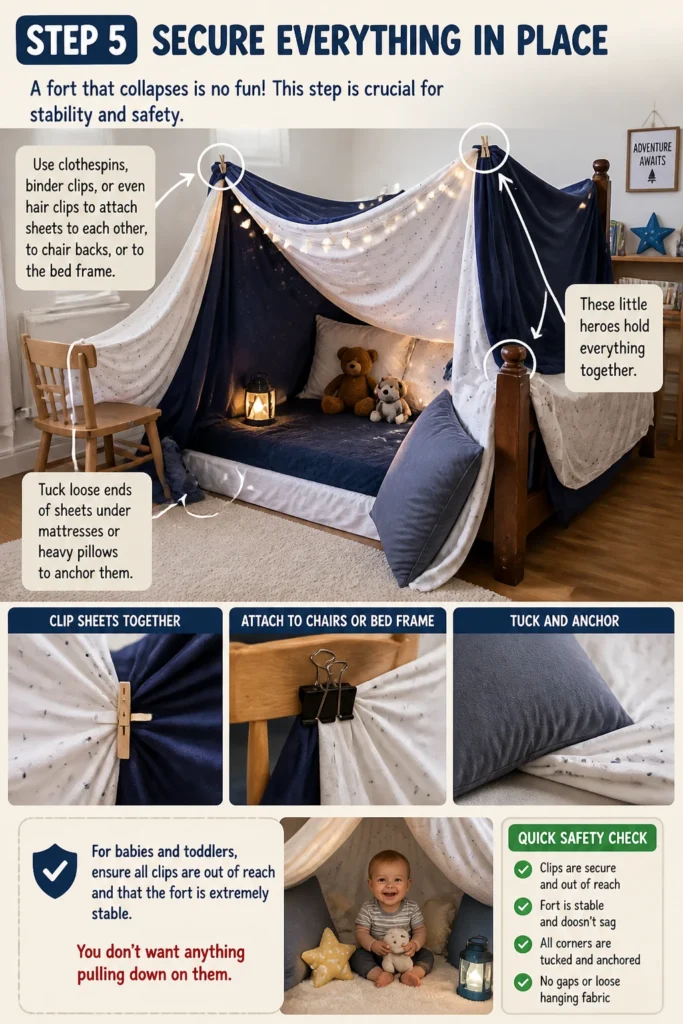
Use clothespins, binder clips, or even hair clips to attach sheets to each other, to chair backs, or to the bed frame. These little heroes hold everything together.
Tuck loose ends of sheets under mattresses or heavy pillows to anchor them. You can even tie sheet corners to bedposts if your bed has them.
For babies and toddlers, ensure all clips are out of reach and that the fort is extremely stable. You don’t want anything pulling down on them.
Step 6: Create a Cozy Interior
Once the structure is sound, it’s time to make the inside inviting. This is where comfort truly shines.
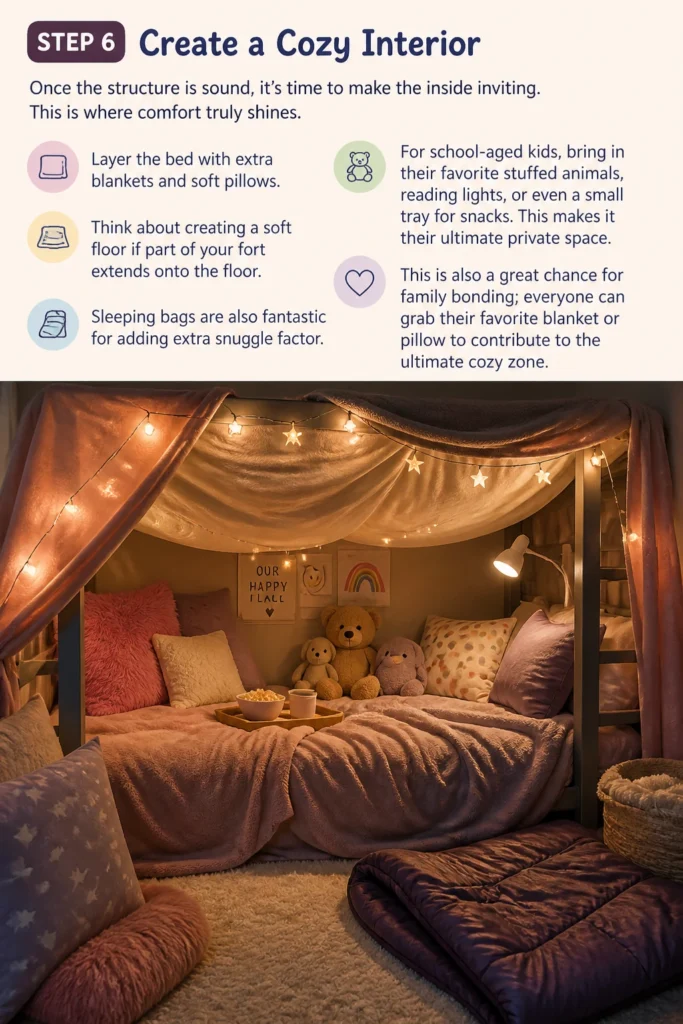
Layer the bed with extra blankets and soft pillows. Think about creating a soft floor if part of your fort extends onto the floor. Sleeping bags are also fantastic for adding extra snuggle factor.
For school-aged kids, bring in their favorite stuffed animals, reading lights, or even a small tray for snacks. This makes it their ultimate private space.
This is also a great chance for family bonding; everyone can grab their favorite blanket or pillow to contribute to the ultimate cozy zone.
Step 7: Light It Up (Safely!)
Lighting adds so much to the fort’s ambiance. It transforms it from a covered space into a magical hideaway.
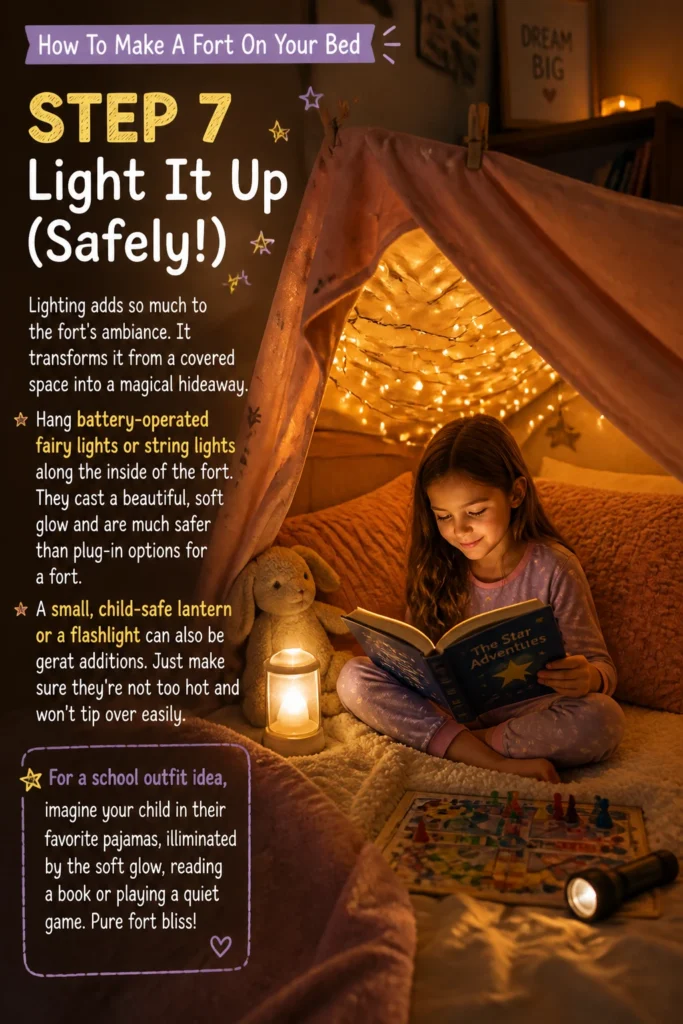
Hang battery-operated fairy lights or string lights along the inside of the fort. They cast a beautiful, soft glow and are much safer than plug-in options for a fort.
A small, child-safe lantern or a flashlight can also be great additions. Just make sure they’re not too hot and won’t tip over easily.
For a school outfit idea, imagine your child in their favorite pajamas, illuminated by the soft glow, reading a book or playing a quiet game. Pure fort bliss!
Step 8: Decorate and Personalize
This is where your fort truly becomes unique. Let creativity run wild!
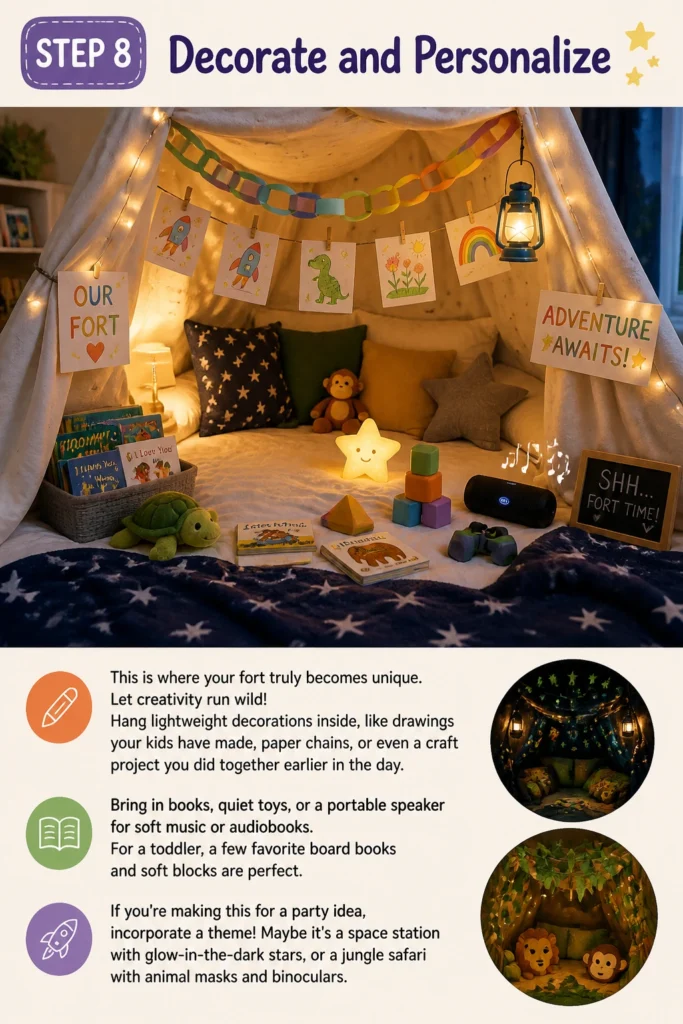
Hang lightweight decorations inside, like drawings your kids have made, paper chains, or even a craft project you did together earlier in the day.
Bring in books, quiet toys, or a portable speaker for soft music or audiobooks. For a toddler, a few favorite board books and soft blocks are perfect.
If you’re making this for a party idea, incorporate a theme! Maybe it’s a “space station” with glow-in-the-dark stars, or a “jungle safari” with animal masks and binoculars.
Step 9: Plan Your Fort Activities
A fort is more than just a structure; it’s a launchpad for imagination. Think about what you’ll do once it’s built.
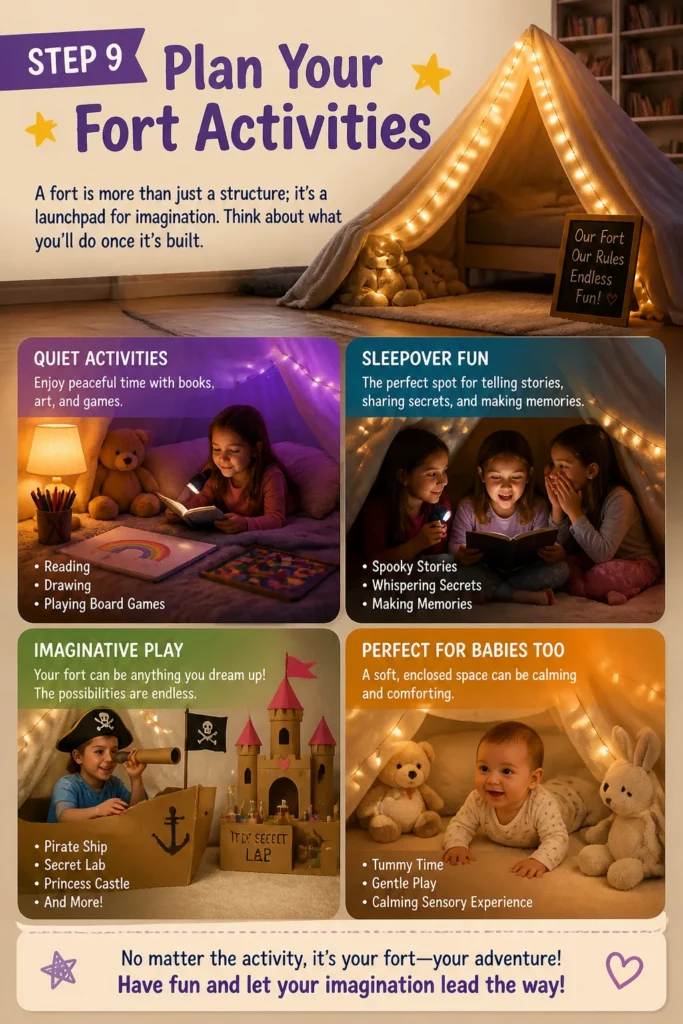
Suggest quiet activities like reading, drawing, or playing board games. For sleepover activities, it’s the perfect spot for telling spooky stories or whispering secrets.
Encourage imaginative play. It could be a pirate ship, a secret lab, or a princess castle. The possibilities are endless!
Even for babies, simply being in the enclosed, soft space can be a calming sensory experience, perfect for tummy time or gentle play with soft toys.
Common Mistakes to Avoid
Not Enough Support
It’s easy to just throw a sheet over a bed and hope for the best, but without proper support, your fort will quickly sag or collapse. Always take the time to set up sturdy “pillars” like chairs or broomsticks to give your fort structure and height. This ensures it stays up and provides a safe, spacious play area.
Using Heavy Materials
While a thick blanket feels cozy, using too many heavy blankets or sheets for the fort’s roof can make it unstable. Lighter flat sheets are generally easier to drape and secure. Save the heavier blankets for layering on the bed inside the fort for maximum comfort without compromising stability.
Forgetting the Entrance/Exit
Sometimes in the excitement of building, we forget to plan for an easy way in and out! Make sure there’s a clear opening that’s easy for little ones to navigate. This is especially important for toddlers and younger children to prevent frustration and ensure safety.
Rushing the Process
Building a fort is part of the fun! Don’t rush through the steps. Involve your kids in the entire process, from gathering supplies to decorating. This makes it a wonderful family bonding activity, teaches teamwork, and helps them feel a sense of ownership over their creation.
Troubleshooting
The Fort Keeps Collapsing
If your fort isn’t holding up, the most common culprit is insufficient anchoring. Go back to Step 5 and check how your sheets are secured. Make sure clips are firmly attached to supports and that sheet edges are tucked securely under heavy objects or mattresses. Adding an extra chair or two for support can also make a big difference.
It’s Not Dark Enough Inside
For that true secret hideout feel, darkness is key! If too much light is peeking through, try adding an extra layer of sheets over the top, especially a darker-colored one. You can also strategically place pillows or blankets along the base to block light from coming in from the floor.
Kids Are Getting Bored Quickly
Sometimes the excitement of building wears off, but the fort fun doesn’t have to end! Introduce new activities like reading a new book together, having a “picnic” with fort-friendly snacks, or playing a board game. Suggest a role-playing scenario, like being explorers or secret agents, to spark their imagination and extend playtime.
Key Takeaways
- Building a fort is a fantastic way to encourage creativity and imaginative play.
- Safety first! Always ensure your fort is stable and free of hazards, especially for younger children.
- Involve the whole family in the building process for a wonderful bonding experience.
- Simple supplies like sheets, pillows, and chairs are all you need for an epic fort.
- Personalize your fort with lights, decorations, and favorite activities to make it truly special.
- Don’t be afraid to experiment and let your kids lead the creative charge!
Frequently Asked Questions
What’s the best age for fort building?
Fort building is wonderful for all ages! Babies can enjoy the cozy, enclosed space for supervised tummy time or gentle play. Toddlers love the novelty and exploring their secret hideaway. School-aged children can take on more responsibility in building and use the fort for imaginative games, reading, and sleepovers. It truly grows with your family.
How can I make the fort last longer?
To maximize your fort’s lifespan, focus on strong anchors. Use plenty of clips, tuck sheets deeply under mattresses, and ensure your supports (chairs, etc.) are stable and won’t easily shift. Avoid letting kids climb on the fort’s structure, as this can quickly lead to collapse. Gentle play helps it stand strong!
Can we eat snacks inside the fort?
Absolutely! Fort picnics are a classic. Just choose fort-friendly snacks that are less messy, like crackers, fruit slices, or dry cereal. Avoid anything sticky or crumbly, and always use spill-proof cups for drinks. Lay down an extra blanket or towel inside to catch any stray crumbs, making cleanup a breeze.
What if my pet tries to join the fort?
Pets often find forts as inviting as kids do! If your pet is generally calm and gets along well with your children, they can certainly join the fun. Just make sure there’s enough space, they don’t chew on the fort materials, and that everyone, including the pet, is comfortable and safe. If your pet is too rambunctious, it might be best to keep them outside the fort for playtime.
Our Top Recommended Finds
- Heavy-Duty Clips: Look for large binder clips or strong clothespins. They are indispensable for securing sheets to furniture and to each other, making your fort much more stable.
- Battery-Operated Fairy Lights: These add magical ambiance without the need for an outlet, making them safe and versatile for any fort.
- Soft Floor Pillows/Cushions: If your fort extends beyond the bed, a few extra floor pillows make it super comfy for sitting, reading, or just lounging.
Your Next Adventure in Fort-Making!
Building a fort on your bed is so much more than just piling sheets. It’s an invitation to imagination, a cozy retreat, and a fantastic way to spend quality time together as a family.
Think of all the stories that will be told, the secrets whispered, and the laughter shared within those fabric walls. It’s a simple pleasure that creates truly profound memories.
So, what are you waiting for? Gather your crew, grab those blankets, and start building your very own magical kingdom today. Happy fort-making!